

After much ado, the subfloor and its many components are finally done. It’s one of those things where a lot of hours go in, with not a whole lot to show for it. The last step after insulating all the spaces between the steel joists of the trailer was to lay down 3/4 inch tongue and groove plywood to cover the entire surface.

The first sheet of plywood!
We started on September 10th (Day 16 of the build since bringing the trailer out to our site) and finished on Saturday, September 12th. It was the icing on the cake so to say, but even with the reward of having that clean slate to start raising walls on, my energy was waning during this part.
It is very gratifying to complete each step, but it is a challenge constantly having to check your expectations at the door in terms of how long things take and how tricky they will be. Little failures or overlooked details are constantly acquainting you with the many shades of humility.

OOPS! Nothing a little PL Premium won’t fix.
Mental fatigue is definitely a bigger challenge than physical fatigue with all of this, which is something I never would have guessed. A steady effort of holding objects in your mind in 3D and moving them around in different positions to be correctly placed is exhausting!
First thing first, we laid down more sill gasket on all the steel that would be in contact with the subfloor plywood. This is to prevent thermal bridging – a fancy term describing how a more conductive material (steel) creates a pathway for heat to be quickly transferred through a thermal barrier (the insulated subfloor). It makes sense… the steel joists are going to get cold, and they  run up through the insulation to touch our floor. A heat thief if I ever saw one. So the sill gasket provides an insulating break between the steel and our floor. It should help a good bit. We tried using PL premium as an adhesive to stick the strips of sill gasket down, but it didn’t work very well. A few pieces of tuck tape were much more effective.
The 3/4″ tongue and groove (T&G) plywood came in 4′ x 8′ sheets. Each sheet has tongue along one of the 8′ sides, and groove along the other  8′ side. The top and bottom (the 4′ sides) are square. Each sheet is also
stamped with a “This Side Down” marker, which results in each sheet lying concave up. In the instructional video that came with our plans, it
was explained that the sheets of plywood must run their length perpendicular to the underlying strength axes (which in this case are the steel joists of the trailer). It is also very important to stagger the sheets so that the seams don’t line up with one another, creating sustained linear weaknesses along which the structure can bend. Alternating our seams at 4′ intervals gave us the maximum strength and unity our subfloor was capable of having.
So to be clear, it wasn’t just me who was tired, Tim was pretty tapped out as well. He was in go-mode though to just power through, and didn’t even stop to take many pictures. I tried to snap a few here and there to make sure the process wasn’t completely lost in time. The fact that each sheet had to be oriented specifically to face down the right way, and to have the tongue of one sheet tying into the groove of the next meant that we had to be really careful about each individual cut we made with the circular saw. Once that cut was made there was no going back, and, like the rigid board insulation, each sheet of plywood is worth a pretty penny!
We used 1.5″ screws to tie down the sheets of plywood. Every six inches along the perimeter (into the wooden side rails) and every twelve inches in the field of each sheet was our pattern. For the screws in the field, we were back to those #$^*)(@$% self-tapping screws again, since we were attaching to the top sides of the steel joists.

Fifth time’s a charm?
I really SERIOUSLY can’t stress this enough: invest in your fasteners. It sucks to pay a premium on the small stuff, but it will be so, SO worth it. The same goes for drill bits. If you buy (unknowingly or not) poor quality screws and/or drill bits, they will snap. Repeatedly. We used over 200 self-tapping metal screws and maybe 150 wood screws in total, and I didn’t count how many of those were duds. After this though we’ll be done with metal, and be able to work exclusively with wood (at least until the metal roof goes on, but that won’t be nearly as thick as the 1/4″ steel in the trailer joists).

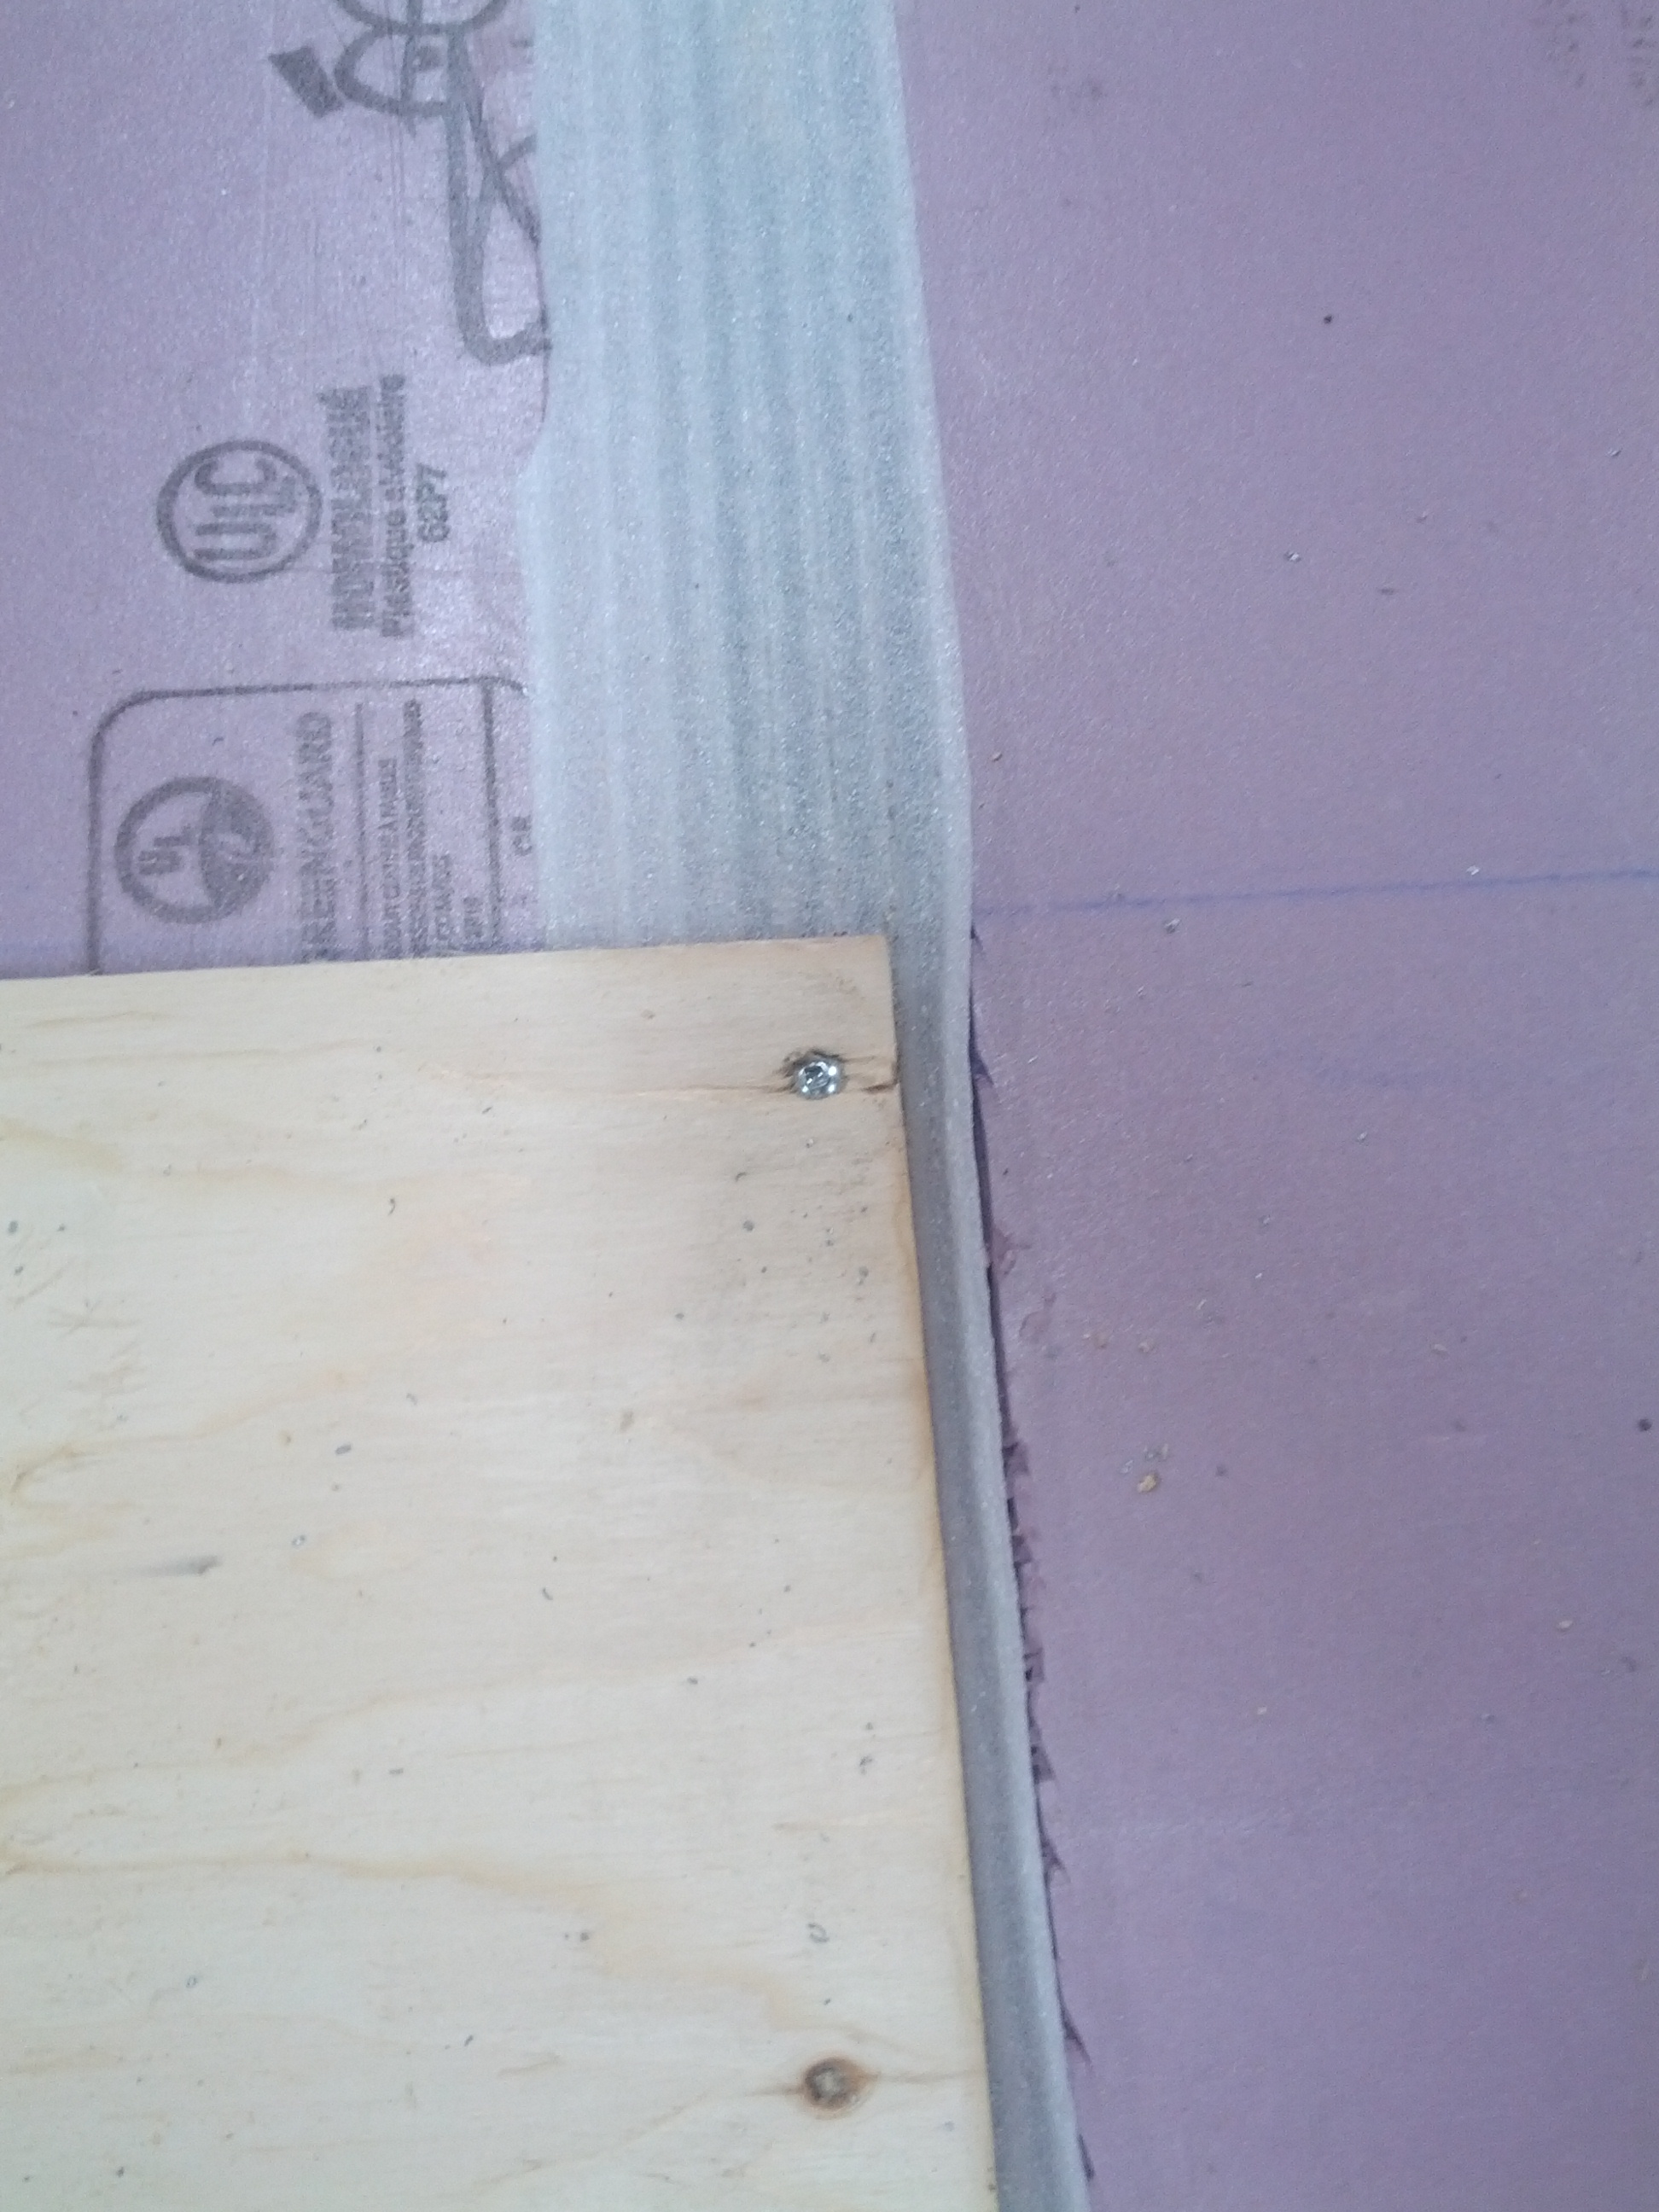
Mind the gap! Lolz
As was the frustration with the 2′ x 4′ side rails, the plywood was pretty bowed, which made it difficult to fit the tongue and groove together completely, and to keep all four corners square. An important thing to remember with this is that wood swells, so you can’t abut adjacent pieces tight to one another – leaving about 1/8″ gap all the way around each sheet allows the plywood room to swell and shrink with varying moisture levels. Not doing this can result in your floor buckling under your feet, which is obviously undesirable. Our carpenter’s square is 1/8″ thick, so that made it quick to check our placement. The thing to keep in mind with these gaps is that they are constantly adding on to your total length, with each piece that is laid. This slipped our minds at first, and actually caused us a bit of hassle.
This sheet didn’t line up properly. We had to take the screws out and skim a strip off the end of the sheet with the skill saw in order to make room for the next piece.
The steel joists are on 2′ centres, so, the ends of two neighbouring pieces of plywood must meet each other equally at the centre of each joist in order to have enough room for the screws to bite into the metal on each side. These joists are the only surfaces on which the pieces of plywood could be attached in the field, so each one needed to be shared 50/50. Successive 1/8″ gaps add up fast, and without taking them into account, you can end up with one piece of plywood hogging a steel joist, with no room for the next sheet to tie in!
Other mentionable quirks include routing holes to accommodate the pieces of threaded rod, and cutting out pieces to  allow for our wheel wells. It seems that with rough carpentry, it doesn’t matter how precise you try to be, it’s impossible to have everything just so. What a positively fantastic exercise for the nit picky hair-splitter in me!
As you can see in the header photograph for this post, on the right hand side of the trailer we ended up having to cut narrow strips to finish off the entire surface – much like with the aluminum flashing on the underside of the trailer. It would have been so much nicer to have the trailer a perfect 8′ wide by 24′ long, side rails included; then we could lay full sheets with no modifications required. But I digress… Again, since the tongue is only on one side of each sheet, we were left with a lot of wood that didn’t have a tongue for us to work with. Tim being Tim (economical and creative) decided to fashion a tongue himself on the long 10″ wide strips we had cut to fill out that right hand side. All it took was a table saw, a bit of cleverness and elbow grease.


A really great tip: take a speed square and pencil, and trace the edges of the steel joists onto the side rails prior to laying your plywood. These lines can then be extended along the tops of your plywood so you can know exactly where the steel joists lie, and hence, where to sink your screws. It was a big help for us! We finished up the last few pieces and finally swept off our floor for the very first time. There were a few housekeeping tasks to clue up then, like trimming some of the perimeter overhanging edges of plywood, and using the grinder to cut off any of the snapped screw shanks left sticking up out of the floor. We also caulked around the threaded rod for good measure. All the cursing and frustration has been worth it, and we can now put in our order for 2′ x 4’s for our walls. Before you know it we’ll be raising the roof!

Tim taking it easy after a hard day’s work.

Me, feeling proud 😛


Love this blog! I’m planning on having a tiny home in Doyles, but I’m still deciding whether I want to build myself or have it made.
LikeLiked by 1 person
Fiona, if you have the time and willingness, build it yourself!! It might seem intimidating (I know it was for me), but it is so rewarding! Building is really just applied common sense, and I truly believe if you have enough time and dedication to think things through and do your homework, anyone can do it!!
LikeLiked by 1 person
Looks great! I can definitely relate to a lot of what you’re saying, and those damn self-tapping screws do suck, eh!
It’s great to find other Canadian builds, especially in the Maritimes!
LikeLiked by 1 person
Thanks for writing Natalie!! It is so awesome to connect with other tiny house people in Atlantic Canada… we’re relatively rare! Keep in touch 🙂
LikeLiked by 1 person
Will do! Do you two have a timeline? Are you building over the winter? You’re lucky to have a warehouse to build in. 🙂
LikeLiked by 1 person
We don’t have a timeline as such, and no, we’re not building over the winter. We are so, so fortunate to have had to opportunity to build indoors, but it isn’t a heated warehouse. Often, it’s actually colder in there than it is outside!! It’s all metal, with a concrete floor, so it kinda acts like a big cooler, lol. Like you, we really had a big push before winter set in, and we didn’t get everything checked off on our to do list either. But it’s all about the journey, and enjoying each stage for what it is 🙂 Will write more posts soon, thanks for your support and for following us! I’ve read a bunch of your posts, can’t wait to read more. Will definitely get around to leaving some feedback for you too!! Way to go on your build, it looks amazing, and you’re doing it solo!! Hella inspiring 😀
LikeLike
For future reference, tongue-and-groove plywood doesn’t need a 1/8″ gap between the sheets because the expansion space already is built into the tongue and groove connections. Indeed, the T&G sheets should be solidly tapped together. (But don’t directly hammer the somewhat fragile tongue; instead, hammer a 2×4 placed along the tongue.)
The short, square sides of T&G sheets also don’t need a 1/8″ gap, since the sheets’ expansion occurs almost entirely along the 4′ width of the plywood rather than along the 8′ length. That’s why joists are spaced exactly 16″ or 24″ on-centre — so the center of the a joist will end up falling exactly halfway between the 8′ lengths of sheeting.
If you were working with regular plywood sheets (square on all sides) instead of T&G sheets, then you would leave a 1/8″ gap between the adjoining long sides of the sheets and no gap between the adjoining short sides.
LikeLike